


Introduction
If you haven't checked our other guide(s) about Anomaly Interception, make sure to drop a view





Ultra in Anomaly Interception is an Electric Boss weak to Iron Nikkes. It is farmed for Helmet T9M gear. This guide will go over:
- Boss HP and Rewards
- Best Nikkes and Teams
- Bossfight Breakdown and Tips
- Gameplay Videos
Boss Rewards
Rewards scale with how much damage you do, with significant improvements at Stages 3 and 6 and reaching their max at Stage 7. At 200 shards, Manufacturer Arms can be used to guarantee a T9M piece.
| Stage | Reward |
|---|---|
| Stage 1 | 0 ~ 118,000,000 Damage |
|
| Stage 2 | 118,000,001 ~ 400,000,000 Damage |
|
| Stage 3 | 400,000,001 ~ 742,000,000 Damage |
|
| Stage 4 | 742,000,001 ~ 1,413,000,000 Damage |
|
| Stage 5 | 1,413,000,001 ~ 2,420,000,000 Damage |
|
| Stage 6 | 2,420,000,001 ~ 3,740,000,000 Damage |
|
| Stage 7 | 3,740,000,001 ~ 4,341,000,000 Damage |
|
| Stage 8 | 4,341,000,001 ~ 5,861,000,000 Damage |
|
| Stage 9 | 5,861,000,001+ Damage |
|
Best Nikkes
Team building for Ultra is simple enough. You need an Iron Code Nikke or Rapi: Red Hood for QTE, a shielder to survive, and ideally a Pierce DPS.
 Red Hood B3: One of the best abusers of the fight; her self pierce buff increases her damage by a lot.
 Rapi: Red Hood: Despite being Fire Code, she still has elemental advantage against Iron-weak enemies.
 Milk: Blooming Bunny: On the condition that you can manual her well, she is very strong and utilizes her pierce.
 Snow White: A very invest hungry Nikke; when paired with Miranda (Treasure) she can be very powerful.
 Raven: A collab unit. Her damage output is good whether Bursting with her or using her off-Burst.
 Eve: A collab unit. She makes Iron-weak enemies take 10% more damage.
 Laplace (Treasure): If built, she is like a slightly weaker Red Hood that can't cover.
 Maxwell: A mini version of Snow White with a much weaker nuke, but she can buff the attack of the 2 highest attack Nikkes.
 Helm: Aquamarine: A support B2 that makes Iron-weak enemies take extra damage. Also grants CDR.
Best Teams
Here are some example teams you can try:
Default BiS Ultra Team
Mode: Anomaly - Ultra || Element: Iron
Characters



About the team
The standard team comp for Ultra that is easy to play and has an amazing damage output. Milk: Blooming Bunny version needs good manual play to be worth using. Mast: Romantic Maid is expected to be fully invested to be a good option here. When using Red Hood, saving her B1 to be used with her B3 and Mast’s Burst at 3 stacks once a fight lends the most damage. If using Mast: Romantic Maid as your flex Nikke, she should Burst at 3 stacks (Crown → Crown → Mast). There will be situations where you need Crown to go 3rd instead so that her shield protects your team. When that happens, you should use Mast Burst at 2 stacks instead (Crown → Mast → Crown).
Substitutions
-
Ultra ft. Triple DPS
Mode: Anomaly - Ultra || Element: Iron
Characters
About the team
A different version of the previous team with Rapi: Red Hood as the B1. Her damage output is still amazing in this position, and you get to slot in another DPS. Milk: Blooming Bunny version of this team needs good manual play to be worth using. Mast: Romantic Maid is expected to be fully invested to be a good option here. When using Red Hood, saving her B1 to be used with her B3 and Mast Burst at 3 stacks once a fight lends the most damage. If using Mast: Romantic Maid as your flex Nikke, she should Burst at 3 stacks (Crown → Crown → Mast). There will be situations where you need Crown to go 3rd instead so that her shield protects your team. When that happens, you should use Mast Burst at 2 stacks instead (Crown → Mast → Crown).
Substitutions
-
Snow White's Bazookas vs Ultra
Mode: Anomaly - Ultra || Element: Iron
Characters

About the team
A high investment, high reward team. Snow White wants ideal investments and higher final ATK than the rest of the team to make sure she gets Miranda (Treasure)’s S2 Critical Rate buff. For the team to run properly you need to make sure every Snow White nuke hits the core + 2 parts. You can use Yulha as your 2nd B3. You should time Snow White’s nuke with Yulha’s S2 ATK buff, otherwise running her is basically pointless.
Substitutions
-
Ultra for the Crownless
Mode: Anomaly - Ultra || Element: Iron
Characters



About the team
For non-Crown havers, the options are pretty limited right now. A good shield is needed to survive the fight, which is the only reason Tia is here. Tia needs to Burst to apply shields and requires a second B1 Nikke for the team to function. Make sure she Bursts before Ultra one-taps you (with shockwave). Since Tia is Iron, you pretty much get the freedom of running whatever you’ve invested in, hence very beginner friendly.
Substitutions
-
Rapi vs Ultra
Mode: Anomaly - Ultra || Element: Iron
Characters

About the team
Another team featuring funneling Rapi. She's just that insane.
Substitutions
-
Boss Fight Breakdown
Ultra is a light boss, although it has weird quirks related to its core. For a quick TL;DR:
- Ultra has 1 core and 2 parts; Pierce DPS Nikkes will utilize them well.
- Bring an Iron Code Nikke or Rapi: Red Hood for QTE (red circles).
- Make sure you have some sort of shield to survive the shockwave(s).
- Cover from the poison or use a powerful shield to tank it.
- Core can respawn multiple times if certain conditions are met.
Ultra deals increased damage to Water Nikkes:
- 300% at Stages 1~3
- 400% at Stages 4~6
- 500% at Stages 7~9
Phase I
Ultra has: A core under a shell (Pierce only), 2 Poison chambers.
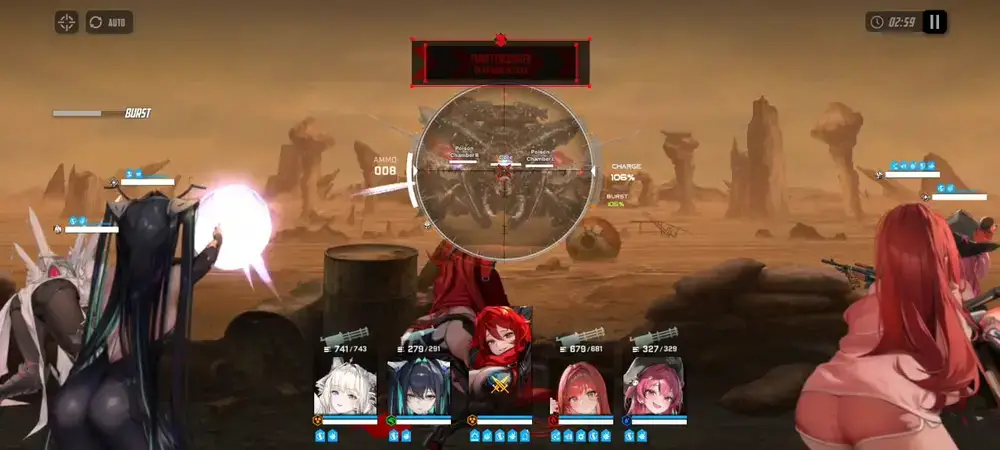
At the beginning, Ultra fires guns at the highest attack Nikke.
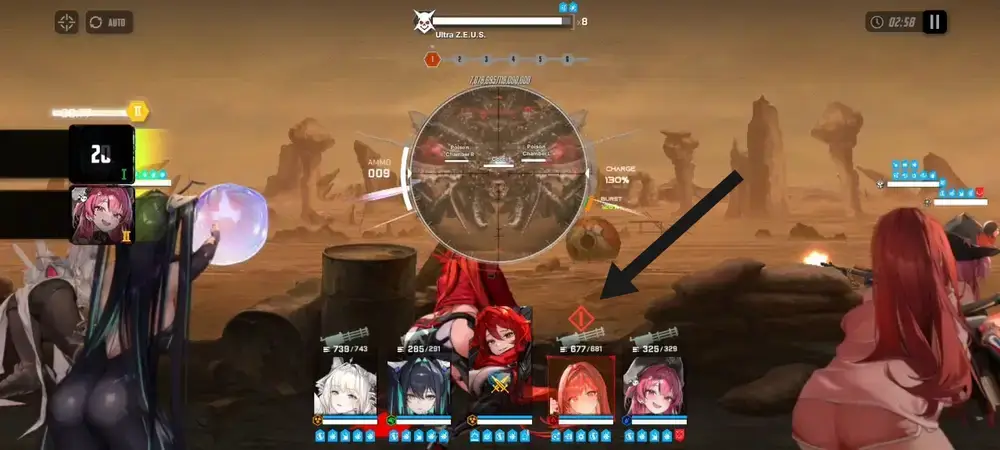
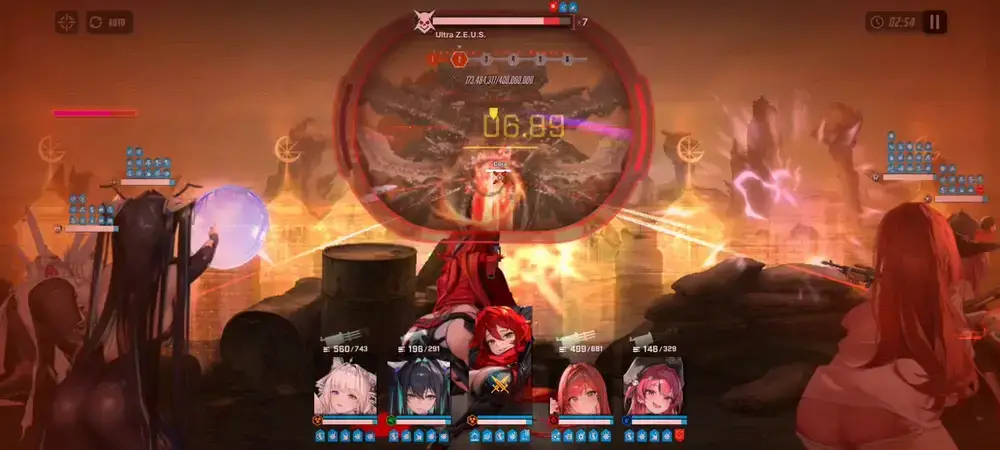
After the gun attack, Ultra obtains an elemental shield and spawns the first QTE (red circles). Only Iron Nikkes and Rapi: Red Hood can do damage through this shield.
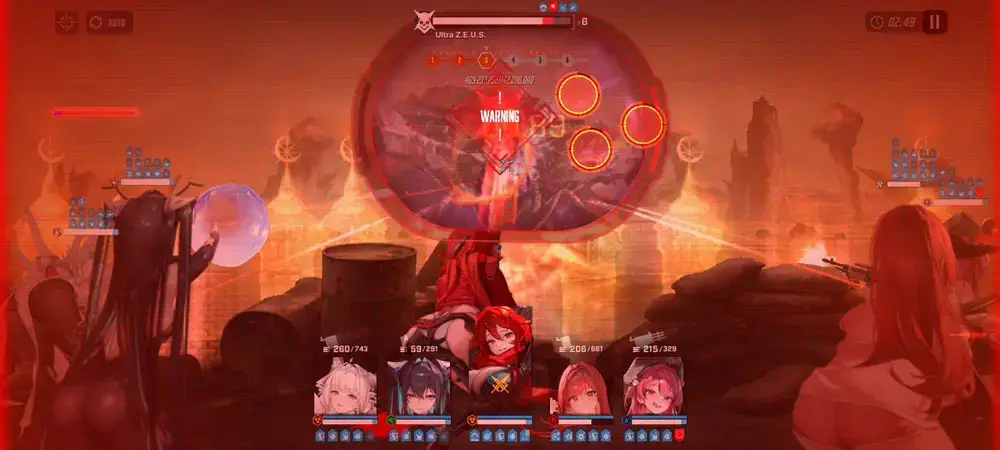
After that, Ultra charges its first shockwave. Can take cover or use a shield to block.
If the core was destroyed, a few things can happen:
- Didn't reach Stage 4 before respawn time (2:34): Core respawns with low Max HP.
- Reached Stage 4 before respawn time (2:34): Core respawns with higher Max HP.
- Reached Stage 4 before shockwave starts charging: Core immediately respawns at Full HP.
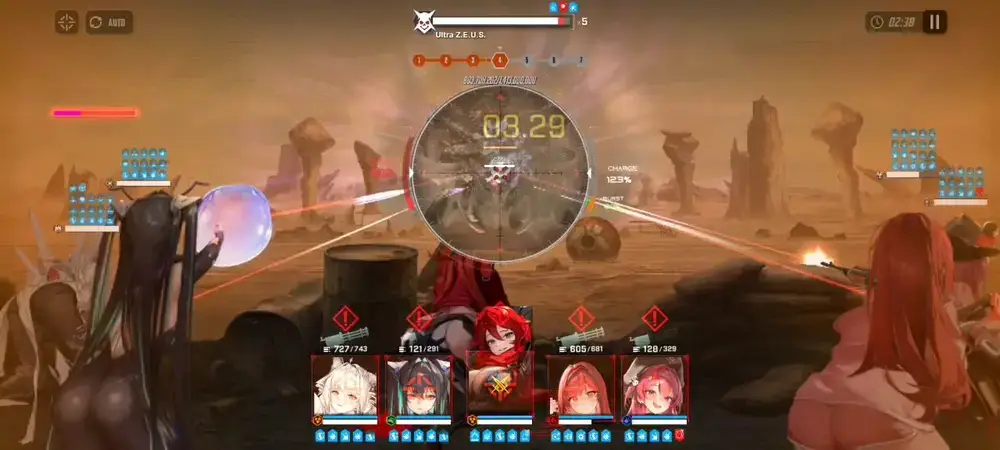
Right after the shockwave, Ultra spits a poison attack on the entire team.

Interim
After the Poison Spit, Ultra removes its outer shell, exposing the core. Then enters a Special QTE (red and grey circles).

Phase 2
Ultra's core, if alive, is now permanently exposed to all Nikkes for the rest of the fight.
After clearing the QTE, the boss is stunned. Then if any Poison chambers are alive, it shoots purple balls applying DoT.
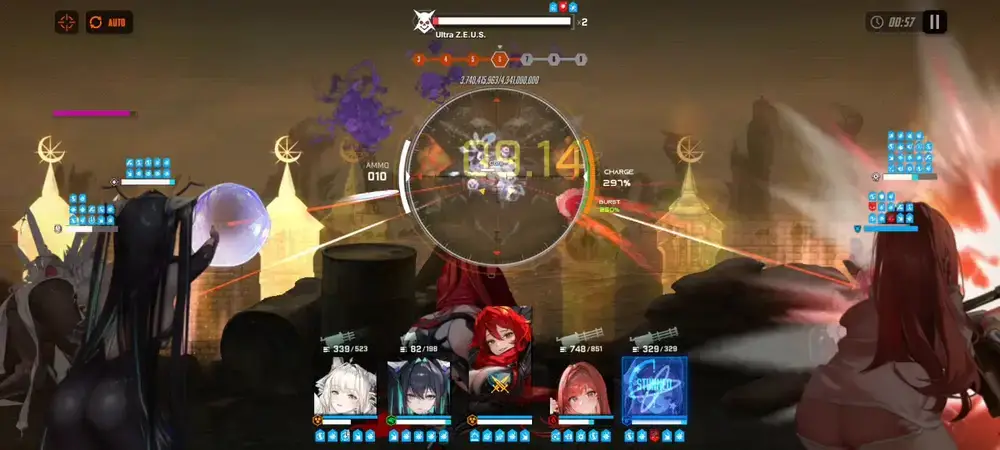
Next, it respawns Poison Chambers before another Shockwave and Poison Spit.
The rest of the fight repeats this pattern one more time, then another Special QTE.
Tips
- The biggest damage boost is getting the core respawns right.
- Stalling QTE can bring more damage if it allows you to respawn the core in time.
- If having issues surviving the guns, you can time Crown's S2 reaching 20 stacks to tank them.
- Poison Spit hurts very badly at Stage 8; Crown's shield isn't enough alone.
- If running Mast: Romantic Maid, you can use her 2-stack Burst at your 2nd Burst for more damage.
- Holding your Burst till after the Special QTE can result in more damage.
- If using Red Hood and Mast: Romantic Maid, time your one-time B1/B3 Red Hood rotation with a 3-stack Mast Burst in Phase 2.
Gameplay Videos
For visual learners, a pretty fast way to understand what to do is to watch a walkthrough/successful run:
Full credit goes to the original creators.