


Introduction
If you haven't checked our other guide(s) about Anomaly Interception, make sure to drop a view





Harvester in Anomaly Interception is a Fire Boss weak to Water Nikkes. It is farmed for Boots T9M gear. This guide will go over:
- Boss HP and Rewards
- Best Nikkes and Teams
- Bossfight Breakdown and Tips
- Gameplay Videos
Boss Rewards
Rewards scale with how much damage you do, with significant improvements at Stages 3 and 6 and reaching their max at Stage 7. At 200 shards, Manufacturer Arms can be used to guarantee a T9M piece.
| Stage | Reward |
|---|---|
| Stage 1 | 0 ~ 100,000,000 Damage |
|
| Stage 2 | 100,000,001 ~ 280,000,000 Damage |
|
| Stage 3 | 280,000,001 ~ 620,000,000 Damage |
|
| Stage 4 | 620,000,001 ~ 1,350,000,000 Damage |
|
| Stage 5 | 1,350,000,001 ~ 2,380,000,000 Damage |
|
| Stage 6 | 2,380,000,001 ~ 3,280,000,000 Damage |
|
| Stage 7 | 3,500,000,001 ~ 4,250,000,000 Damage |
|
| Stage 8 | 4,250,000,001 ~ 5,470,000,000 Damage |
|
| Stage 9 | 5,470,000,001+ Damage |
|
Best Nikkes
Harvester is an easy boss. You just need to destroy the Head as soon as possible and focus on maximizing your damage while surviving against the continually spawning horde of Raptures and destructible projectiles (like a pressure test). Ideally, have 1 Water Nikke for its Elemental QTE.
Against Harvester, Water Nikkes will have their damage boosted a lot if they have Elemental Damage bonuses (from OL & other sources), so investing in Top-Tier Water DPS is the best option for this fight.
If you lack all of the teams below, a team without a Water Nikke can work because Water QTE only happens 2 minutes into the fight. Or, just use  Privaty as your FLEX Nikke and run your 'generic' main team.
 Snow White: Heavy Arms: The best DPS against Water-weak Bosses.
 Dorothy: Serendipity: Amazing DPS against Water-weak bosses.
 Elegg: Boom and Shock: An off-burst unit who uses Burst in the final moments of the battle. Buffs the ATK & Elemental DMG of Water Nikkes throughout the fight. Her Burst works in a way that allows the team to have a third B3. Her ghosts can affect the mobs, so make sure to kill them first before Bursting.
 Helm (Treasure): An amazing option against Water-weak bosses, both as a DPS or as a team buffer/healer. Her Burst prioritizes mobs starting Stage 4 and above, so you should kill the mobs to land it on the boss.
 Ludmilla: Winter Owner: Good Water DPS that works off-burst or in-burst. She increases the Damage Taken by the boss, resulting in a teamwide damage increase.
 Quency: Escape Queen: Good Water DPS for bosses with a core like Harvester. She is a good replacement for any missing Water B3.
 Bready: When paired with a Distributed Damage buffer (like Mast: Romantic Maid), she becomes a great Water DPS that also kills mobs using her constant Distributed Damage.
 Siren: Having her makes the fight much easier due to her ability to passively kill mobs, and focus-fire outside Full Burst makes QTE significantly easier. Be careful using her as she is a Wind Nikke, so she takes more damage.
 Nayuta: During Burst, she wipes the screen every two seconds, allowing you to just focus on the Boss. Be careful: she is Wind, so she takes more damage.
Best Teams
Here are some example teams you can try:
Rapi and Helm vs Harvester
Mode: Anomaly - Harvester || Element: Water
Characters




About the team
Rapi is so strong she can even match Helm Tr with high ATK, high Ele and Phase 3 Treasure version on Water weak boss. Just pay attention during helm Burst, you don't want her Burst lands on random mob.
Substitutions
-
Spider Slayer
Mode: Anomaly - Harvester || Element: Water
Characters
About the team
This team chews through Harvester AI like Snow White seeing a fat worm. Snow White will take care of the pesky mobs and solo kill Harvester herself. If you want to achieve a faster run, you will need to time Helm's Burst not to hit a mob.
Substitutions
-
Bread vs Spider
Mode: Anomaly - Harvester || Element: Water
Characters
About the team
Bready can kill all mobs while outputting great damage, but she needs Mast : Romantic Maid to be worth considering. Mast : Romantic Maid should burst at max stacks and Helm Treasure should burst after all mobs are dead.
Substitutions
-
No Pilgrims vs Spider
Mode: Anomaly - Harvester || Element: Water
Characters


About the team
Maid Duo being water helps team-building in the early-game. Do note that this team will preform worse than the Ade : Agent bunny version of the Spider Slayer team if you have 2 invested Water DPS and Elegg : Boom and Shock.
Substitutions
-
Boss Fight Breakdown
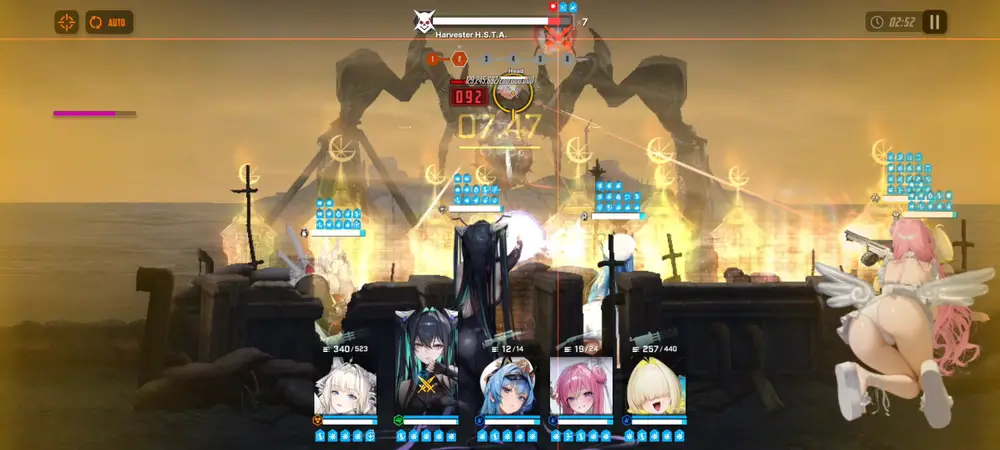
Harvester is a very simple boss. In short:
- It has a Head part. It can be destroyed by doing enough damage. Otherwise, it automatically gets destroyed after the first QTE.
- After the Head is destroyed, the boss has a permanently exposed core for the rest of the fight. Because core improves damage, always destroy the Head ASAP, but don't die.
- Harvester spawns mobs throughout the fight that hurt and fire destructible projectiles (rocks) in the latter half.
- If too many mobs are kept alive, Harvester does massive AoE damage to your team.
If you are looking for the full breakdown, Harvesters' ATK increases pretty steadily from Stage 4 to Stage 8, and its DEF increases by a negligible amount.
Harvester deals increased damage to Wind Nikkes:
- 300% at Stages 1~3
- 400% at Stages 4~6
- 500% at Stages 7~9
Harvester has a Head. Destroying it stuns the boss (if done before QTE) and permanently exposes the core for the rest of the fight.
Mob Spawn
Mobs spawn throughout the entire fight except during QTE (names are from left to right)
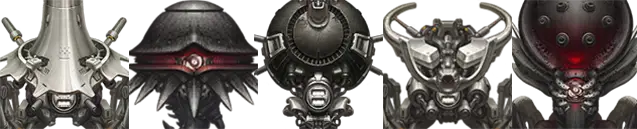
- Vulcan: Fires special bullets at a single Nikke. The Nikke who is hit cannot move or attack for a certain period of time.
- Oculus: Fires special bullets at a single Nikke. The Nikke who is hit cannot move or attack for a certain period of time.
- Glitter: Fires a suicidal attack at a single Nikke. A warning sign is shown on the target of the attack.
- Cricket: Launches pinpoint attacks on a single Nikke at long range. A warning sign is shown on the target of the attack.
- Remnant: Fires a suicidal attack at a single Nikke. A warning sign is shown on the target of the attack.
During the fight, Harvester cycles between 3 main attacks:
- Fires guns at a random Nikke. They can be blocked by cover or taunted.
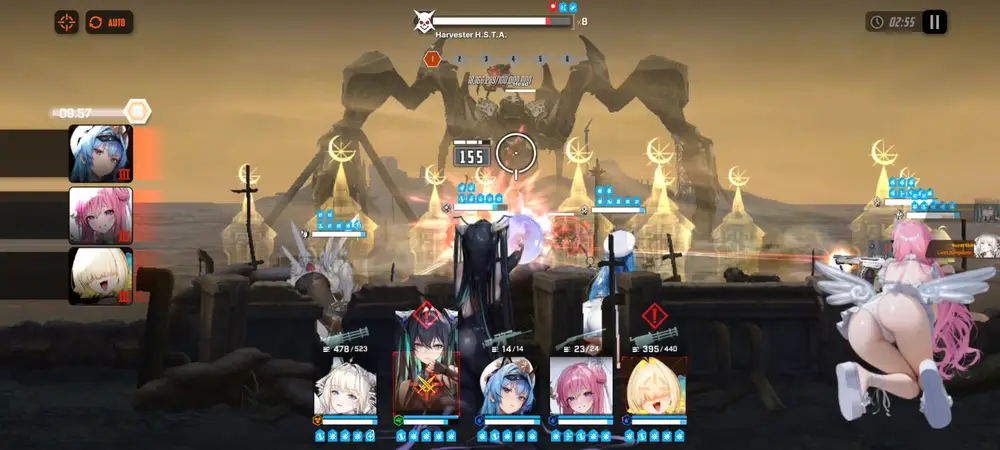
- Shoots a laser at a random Nikke. It can be blocked by cover or taunted.
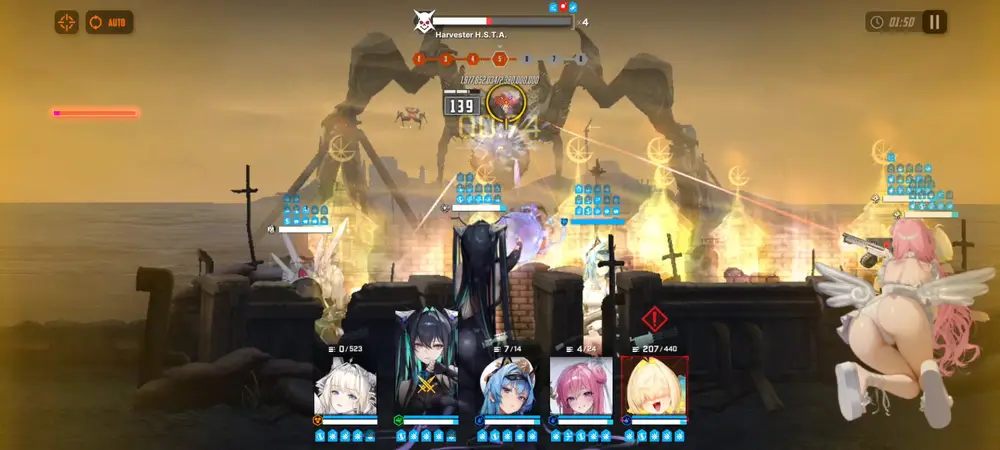
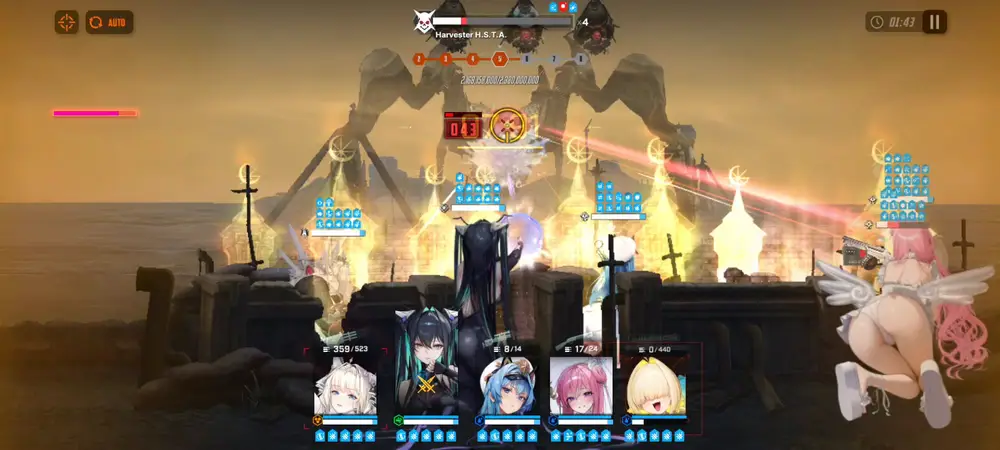
- Shoots multiple destructible rocks/balls. They can be intercepted or i-framed.
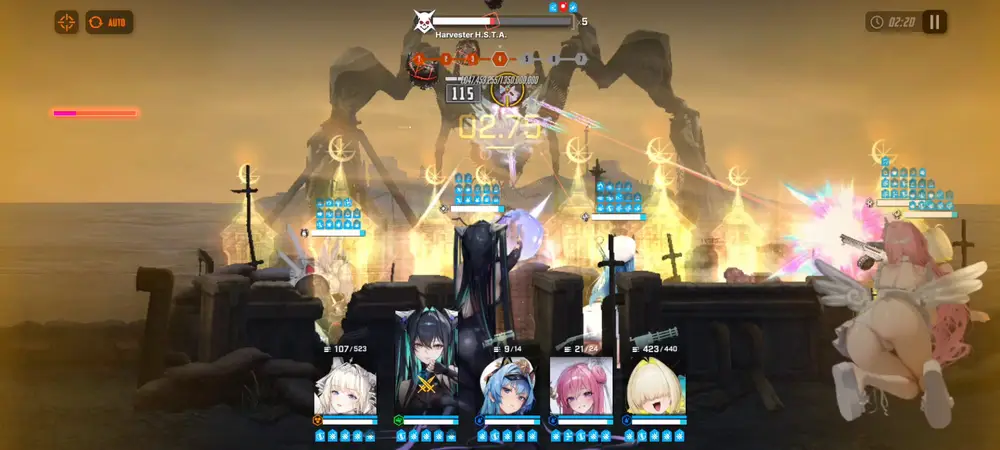
At around 2:20~2:10 and 0:20~0:10 seconds left in the fight, Harvester exhibits different behavior depending on some conditions:
- The Head is destroyed and most mobs are dead: Harvester gets stunned.
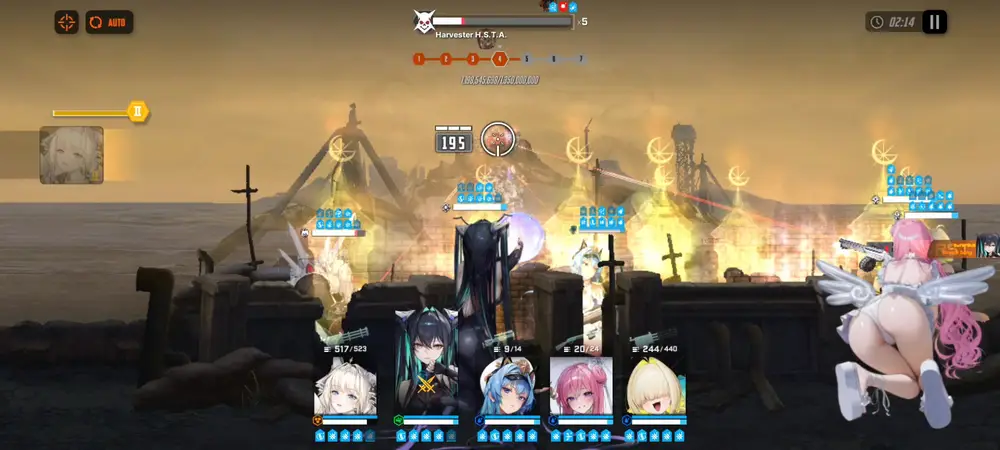
- The Head isn't destroyed, and most mobs are dead: Nothing happens.
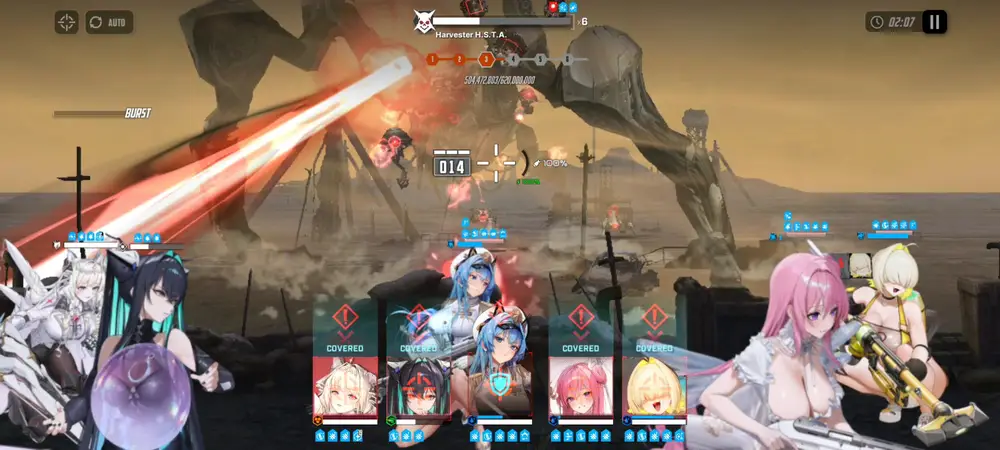
- A lot of mobs are not killed: Harvester fires a strong AOE attack. This attack kills all on-screen mobs.
Halfway through the fight, Harvester puts up 2 QTE:
- No mobs spawn during QTE.
- During the first QTE, 6 Grey Circles spawn in an order, then Red Circles will appear following the same order. Failing to destroy all 6 Red Circles results in a team wipe.
- Then, another QTE shows up. This time, it only has Red Circles, but only Water Nikkes can destroy them. Failing to destroy results in a team wipe.
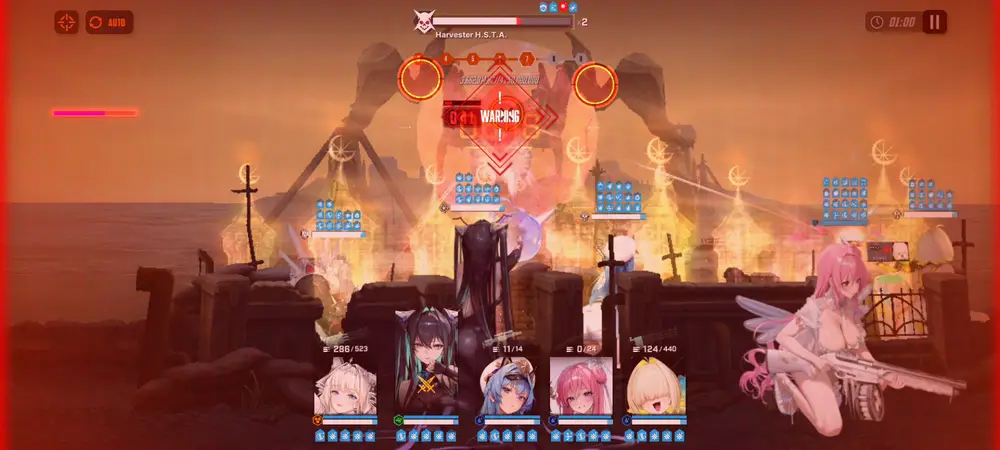
After QTE, the rest of the fight goes back to normal.
Tips
- Destroy the Head ASAP to be able to access the core quickly for damage.
- Helm (Treasure) Burst targets mobs instead of the boss later on in the fight, so you should kill all mobs before Bursting with her to avoid taking damage. Elegg: Boom and Shock Burst might also hit mobs; kill them first before Bursting at the end of the fight.
- You'll want to kill the mobs (and destructible projectiles) throughout the duration of the fight for survival. Nikkes like Siren and Nayuta can do this passively.
- You can use pause tech to kill the mobs and the QTE to avoid wasting time shooting the sky.
Gameplay Videos
For visual learners, a pretty fast way to understand what to do is to watch a walkthrough/successful run:
Full credit goes to the original creators.